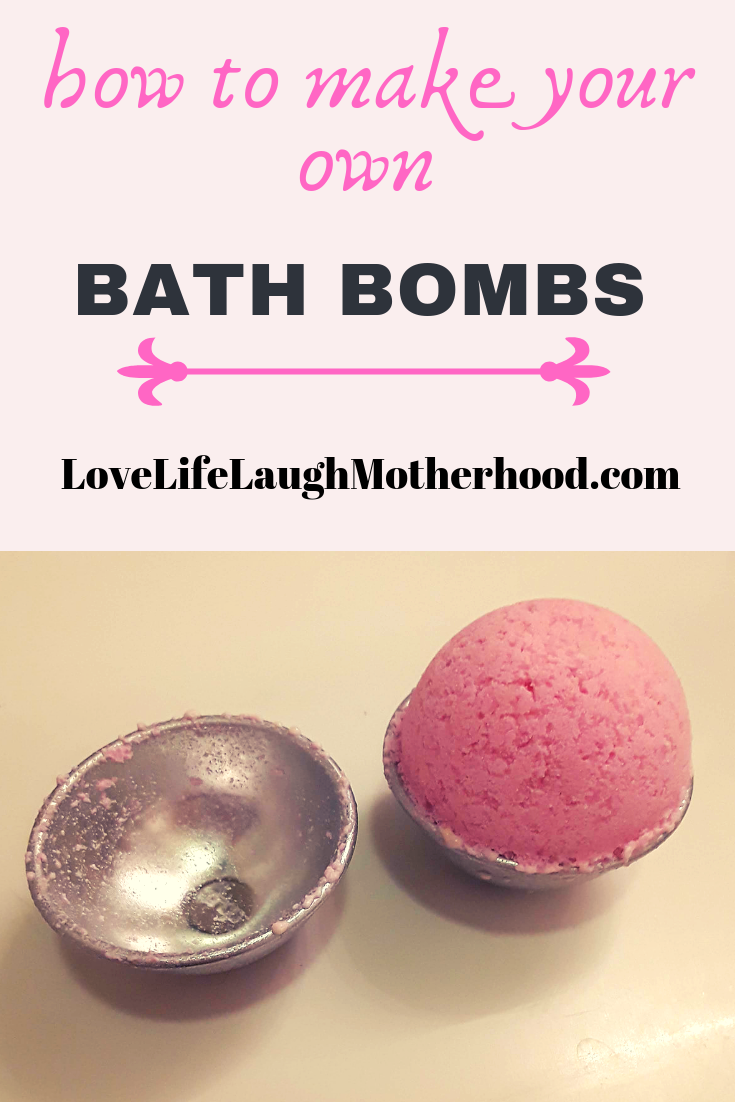
Wanna Make Your Own Bath Bombs?
I just learned how, and it’s super easy!
Trust me, if my non-crafty hot messy self can do it, so can you!
This is a sponsored post. All thoughts and opinions are 100% my own. This post contains affiliate links.
What You’ll Need
- Mixing bowl
- 1/2 cup Epsom Salts
- 1 cup Baking Soda
- 1/2 cup Citric Acid
- Olive Oil
- Essential Oils (optional for fragrance)
- Mica Powders
- Bath Bomb Molds
Creative Lily was awesome enough to sponsor my bath bomb making journey!
So, naturally, I’m using their recipe for making these bath bombs, using their Mica Powders.
Creative Lily Mica Powders are designed for not just bath bombs, but slime and soaps as well!
How To Mix Dry Ingredients
First, you want to mix all your dry ingredients first.
Make sure your baking soda is completely broken up. If there are huge chunks of baking soda within your mix, you won’t have the right consistency. Trust me, I learned the hard way.
So add your baking soda, Epsom salts (mine have lavender added for fragrance), citric acid, and mica powders together and mix well with your hands (gloves recommended).
You can also use a cooking utensil or a metal or plastic whisk to ensure all the powders are broken and blended.
Cornstarch is a popular ingredient with other recipes, but I learned it’s not vital.
Cornstarch is used as a “filler” because the fizz from your bombs is caused by the citric acid mixing with the baking soda. The amount of cornstarch used, or lack thereof, will cause a difference in the amount/length of fizz!
I however, did not use cornstarch filler, but if you want to, it’s totally up to you!
How To Mix Wet Ingredients
I used olive oil, but vegetable oils works too.
You need your mixture to stick together for the molds. So take the adding of oil slow, so you have the right amount of mix.
Depending on your climate, you may find yourself not needing a lot of oil if you’re in a humid environment.
If the mixtures becomes too wet and won’t stick, add a little dry ingredients back into the mix until you get the consistency you want.
It’s best to mix with your hands, so you can feel when the mixture is ready.
How To Load Your Bath Bomb Molds
When your mixture is ready, it’s time to load your molds!
Alternatively, you can also use an ice cube tray, if you don’t have/want traditional bath bomb molds.
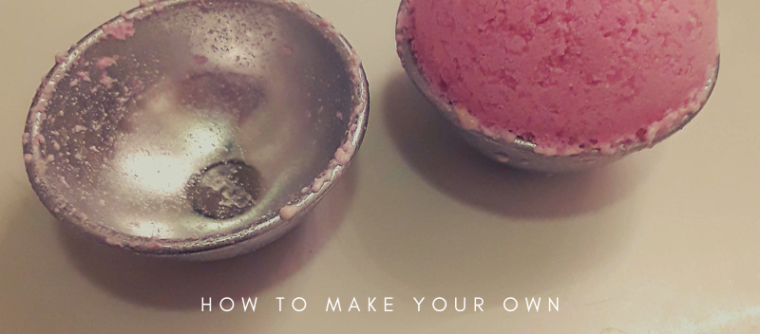
Pack the mixture into the bottom of whatever container you are using. If it’s a mold, do both sides of the mold itself.
It’s ok if mixture squeezes out and overflows the molds when you press the ends together – that means the molds are completely filled, and that’s what you want!
Curing Your Bath Bombs
Everyone has a different opinion on cure time. You can set your bombs out overnight if you have time to wait.
Another alternative is popping them in a freezer for about 30 minutes. One thing I learned with this method, is to let them warm up at room temp before extracting from the mold, or you’ll have breakage! 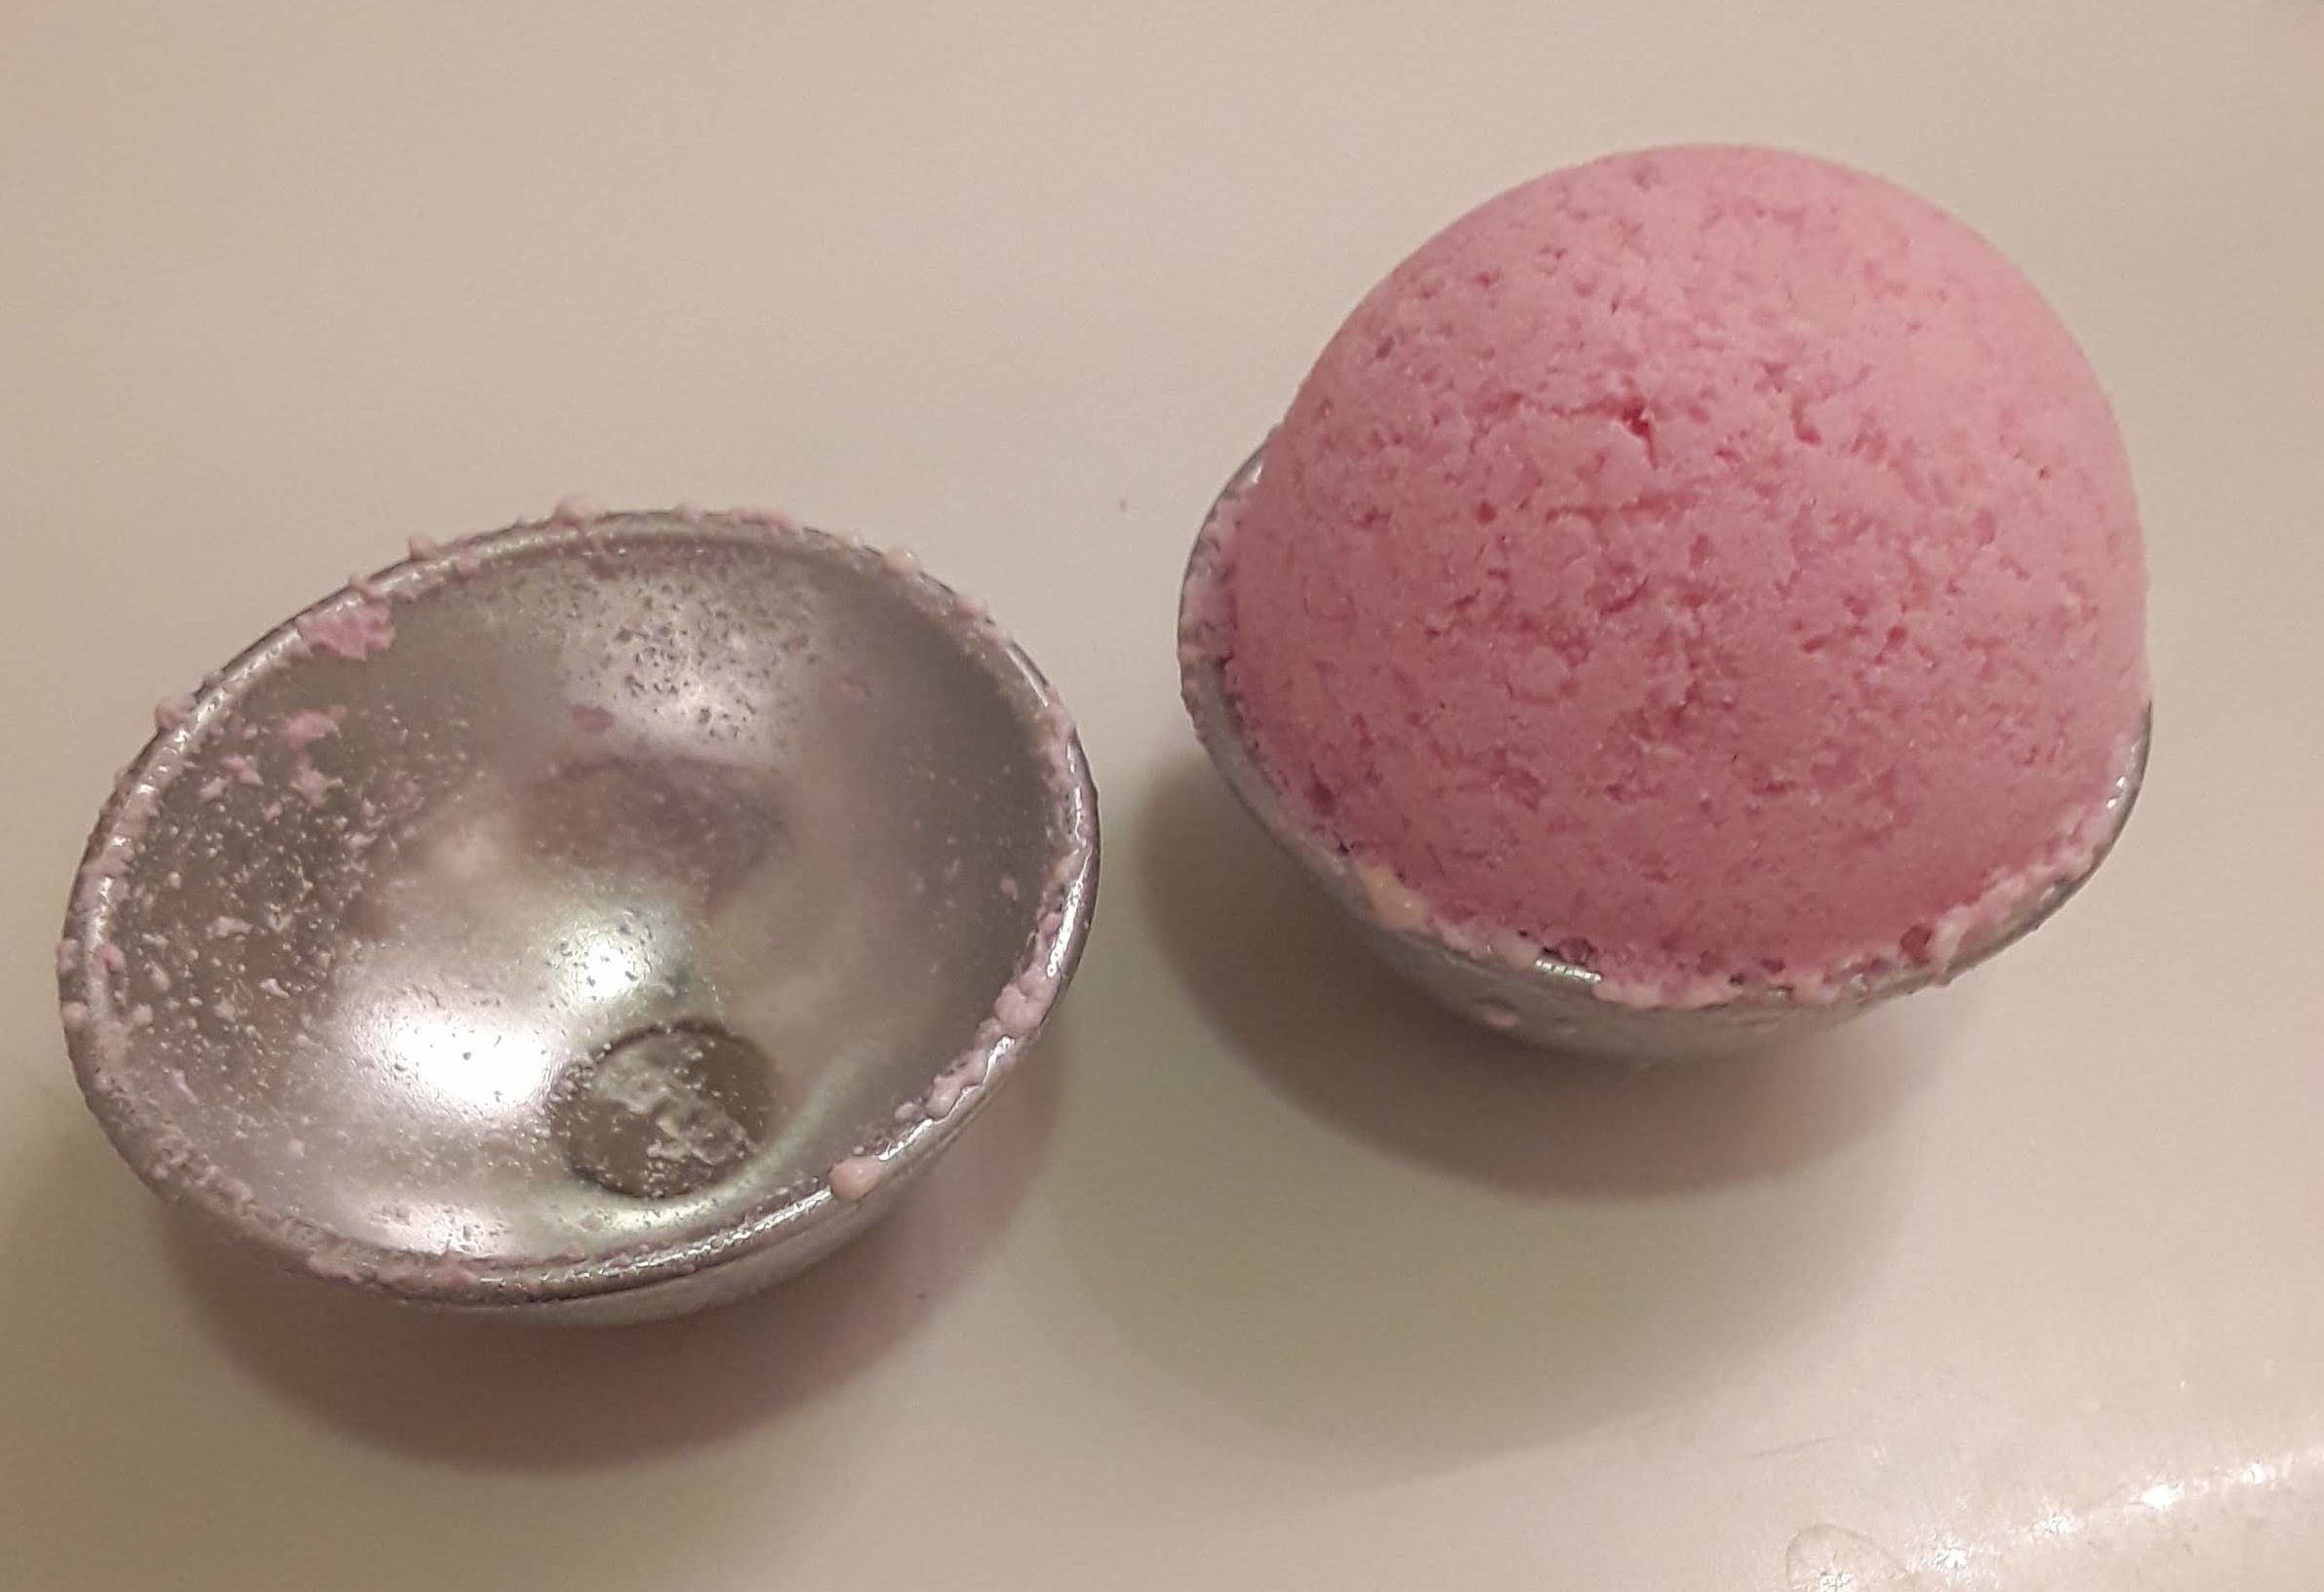
The end result?
You can watch my YouTube video of my first attempts at making my own bath bombs, and the problems I ran into.
Making homemade bath bombs is a great activity for kids, and creates thoughtful gifts for Mother’s Day, Valentine’s Day, or just, whenever!
Bath bombs also give you a great opportunity to indulge in some self care time!
I really enjoy blog posts that show how to make things with ease. I will make some of the these bath bombs and ask my wife to test them out.